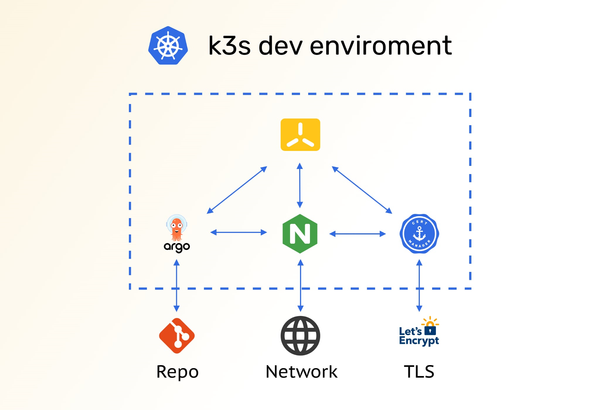
Guide to setup minimal ready-to-use dev env with k3s ( Nginx + Cert-Manager + ArgoCD )

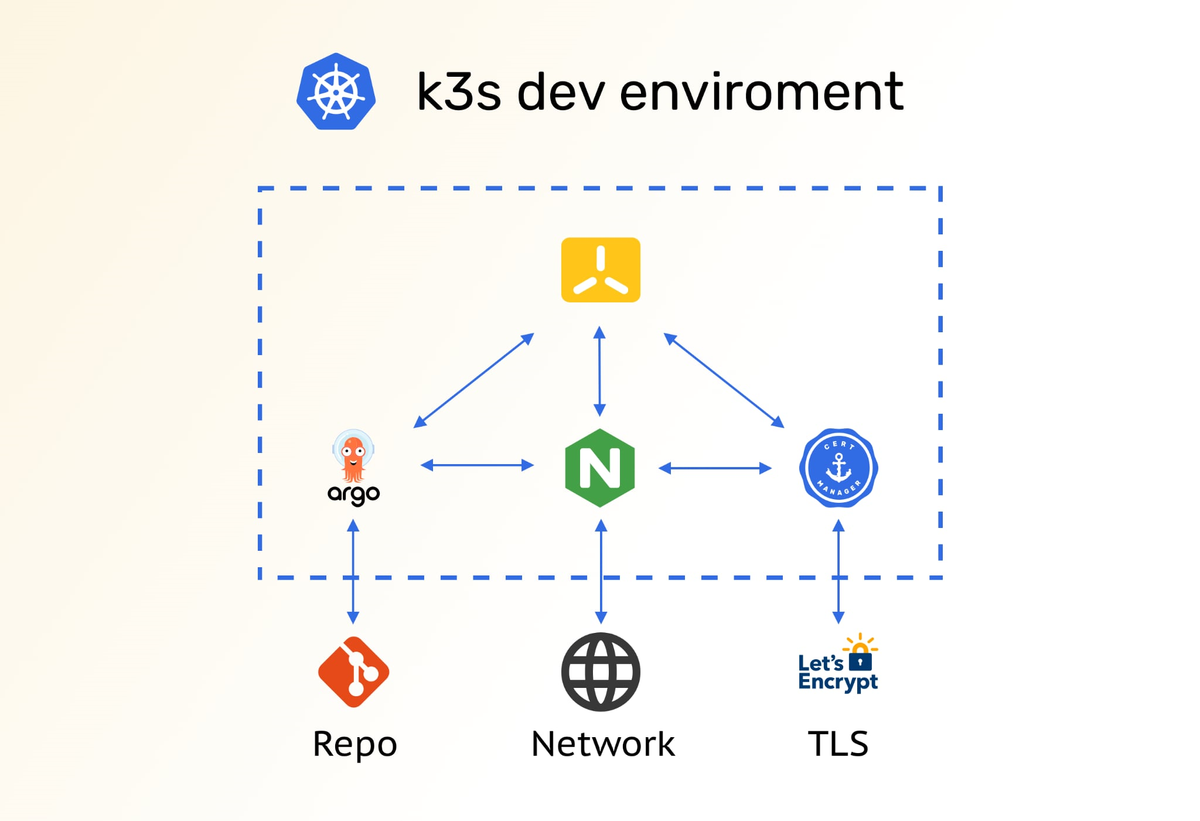
Install K3S and Nginx-Ingress Reverse Proxy

Prerequisites:
- Own Domain
- Linux Server ( Ubuntu Server 24.04)
1.Install K3S.
curl -sfL https://get.k3s.io | INSTALL_K3S_EXEC="--disable traefik" sh -s -

# to check

k3s --version
Here we went installation without Traefik as it visible from the above snippet. Instead, we will use Nginx, as it has higher performance than Traefik.
2.Add wildcard and root domain record to Cloudflare.
A  - @ - <your-ip>
A  -  *  - <your-ip>
Example Screenshot:

3.Install Helm template manager over APT.
curl https://baltocdn.com/helm/signing.asc | gpg --dearmor | sudo tee /usr/share/keyrings/helm.gpg > /dev/null
sudo apt-get install apt-transport-https --yes
echo "deb [arch=$(dpkg --print-architecture) signed-by=/usr/share/keyrings/helm.gpg] https://baltocdn.com/helm/stable/debian/ all main" | sudo tee /etc/apt/sources.list.d/helm-stable-debian.list
sudo apt-get update
sudo apt-get install helm
4.Add K3S config to path.
echo 'export KUBECONFIG=/etc/rancher/k3s/k3s.yaml' >> ~/.bashrc
source ~/.bashrc
5.Install Nginx-Ingress as a reverse proxy.

ingress-nginx.yaml -> /var/lib/rancher/k3s/server/manifests/ (for auto apply)
apiVersion: v1
kind: Namespace
metadata:
  name: ingress-nginx
---
apiVersion: helm.cattle.io/v1
kind: HelmChart
metadata:
  name: ingress-nginx
  namespace: kube-system
spec:
  chart: ingress-nginx
  repo: https://kubernetes.github.io/ingress-nginx
  targetNamespace: ingress-nginx
  version: v4.12.1
  set:
  valuesContent: |-
    fullnameOverride: ingress-nginx
    controller:
      kind: DaemonSet
      hostNetwork: true
      hostPort:
        enabled: true
      service:
        enabled: false
      publishService:
        enabled: false
      metrics:
        enabled: true
        serviceMonitor:
          enabled: false
      config:
        use-forwarded-headers: "true"
Verify the installation:
kubectl get pods -n ingress-nginx
First section is finished, as we already have K3S and Nginx installed, so we can continue with next section - getting the certificates.
Install Cert-manager to get and apply wildcard cert

I name Kubernetes secrets like secret-domain-com to make them more intuitive. Rename to your domain.
1.Install cert-manager.
## Apply CRD
kubectl apply -f https://github.com/cert-manager/cert-manager/releases/download/v1.17.1/cert-manager.crds.yaml

## Create namespace
kubectl create namespace cert-manager

## Add Repo
helm repo add jetstack https://charts.jetstack.io --force-update

## Update Repo
helm repo update

## İnstall Cert-Manager
helm install cert-manager --namespace cert-manager --version v1.17.1 jetstack/cert-manager
Verify the installation:
kubectl get pods -n cert-manager
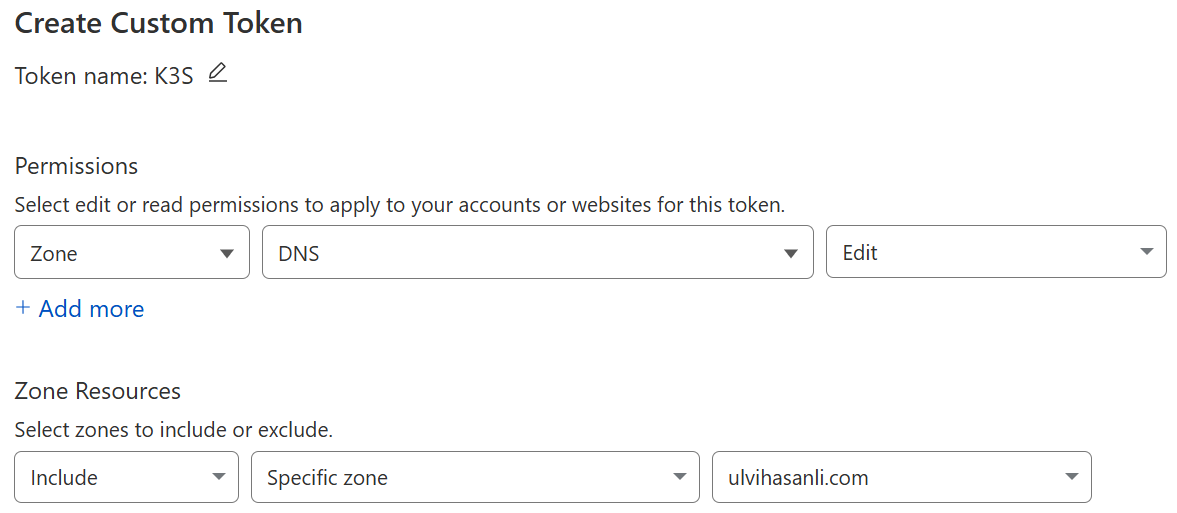
2.Create a secret with your Cloudflare API token:
Need to create API token in Cloudflare with Zone.DNS:Edit permissions, then add the key to cloudflare-secret.yaml and applying it to the K3S.
cloudflare-secret.yaml:
apiVersion: v1
kind: Secret
metadata:
  name: cloudflare-api-token-site-com   # edit
  namespace: cert-manager
type: Opaque
stringData:
  api-token: <token>  # edit
Apply with:
kubectl apply -f cloudflare-secret.yaml
Check with:
kubectl get secrets -n cert-manager
3.Create a ClusterIssuer for Let's Encrypt.
cluster-issuer.yaml
apiVersion: cert-manager.io/v1
kind: ClusterIssuer
metadata:
  name: letsencrypt-prod-site-com  # edit
spec:
  acme:
    server: https://acme-v02.api.letsencrypt.org/directory
    email: [email protected]  # edit
    privateKeySecretRef:
      name: letsencrypt-prod-key-site-com  # edit
    solvers:
    - dns01:
        cloudflare:
          email: [email protected]  # edit
          apiTokenSecretRef:
            name: cloudflare-api-token-site-com  # edit
            key: api-token
Apply with:
kubectl apply -f cluster-issuer.yaml
Check with:
kubectl get clusterissuer -n cert-manager
4.Request Wildcard Certificates for both domains
certificates.yaml
apiVersion: cert-manager.io/v1
kind: Certificate
metadata:
  name: wildcard-site-com  # edit
  namespace: kube-system
spec:
  secretName: wildcard-site-com-tls  # edit
  issuerRef:
    name: letsencrypt-prod-site-com  # edit
    kind: ClusterIssuer
  dnsNames:
  - "*.site.com"  # edit
  - "site.com"  # edit
Apply with:
kubectl apply -f certificates.yaml
Monitor progress:
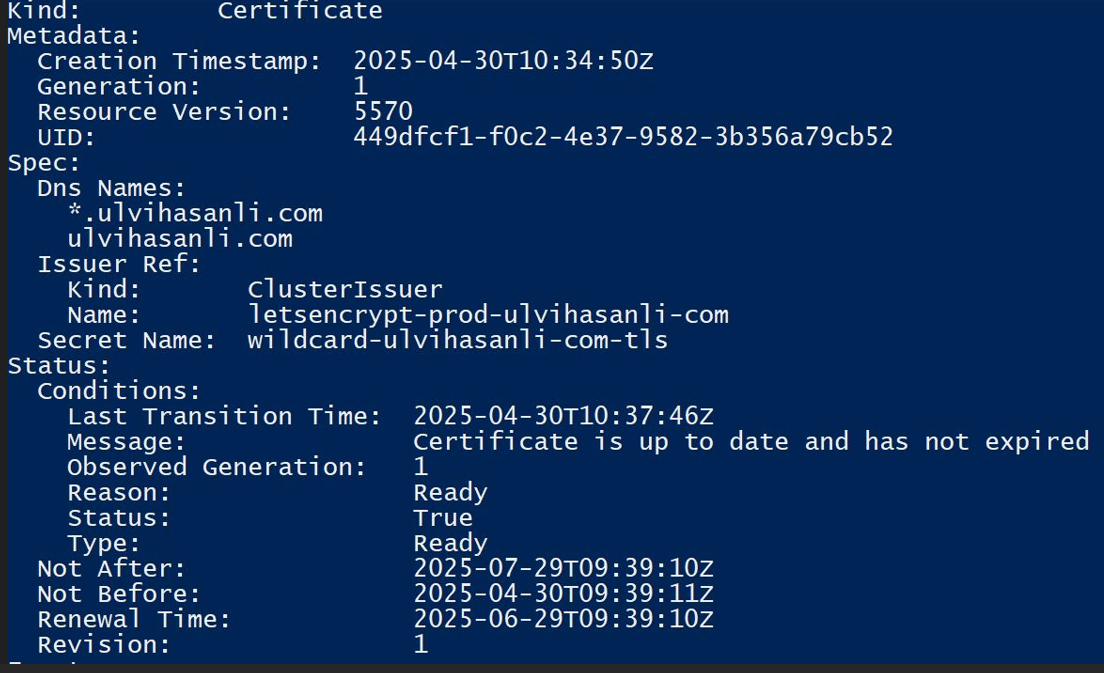
kubectl describe certificate -n kube-system
kubectl get secret wildcard-site-com-tls -n kube-system
As you can see from the below picture, we have recevied our Certificate successfuly.
Argocd installation

We can continue with Argocd installation section:
1.Create namespace and deploy:
kubectl create namespace argocd
kubectl apply -n argocd -f https://raw.githubusercontent.com/argoproj/argo-cd/stable/manifests/install.yaml
Check with:
kubectl get pods -n argocd
2.Copy tls secret:
kubectl get secret wildcard-site-com-tls --namespace=kube-system -o yaml \      # edit
  | sed 's/namespace: kube-system/namespace: argocd/' \
  | kubectl apply -f -
3.Apply ingress:
argocd-ingress.yaml:
apiVersion: networking.k8s.io/v1
kind: Ingress
metadata:
  name: argocd-server-ingress
  namespace: argocd
  annotations:
    nginx.ingress.kubernetes.io/ssl-passthrough: "true"
    nginx.ingress.kubernetes.io/backend-protocol: "HTTPS"
spec:
  ingressClassName: nginx
  rules:
  - host: argocd.site.com  # edit
    http:
      paths:
      - path: /
        pathType: Prefix
        backend:
          service:
            name: argocd-server
            port:
              name: https
  tls:
  - hosts:
    - argocd.site.com  # edit
    secretName: wildcard-site-com-tls  # edit
Apply with:
kubectl apply -f argocd-ingress.yaml
Check with:
kubectl get ingress -n argocd
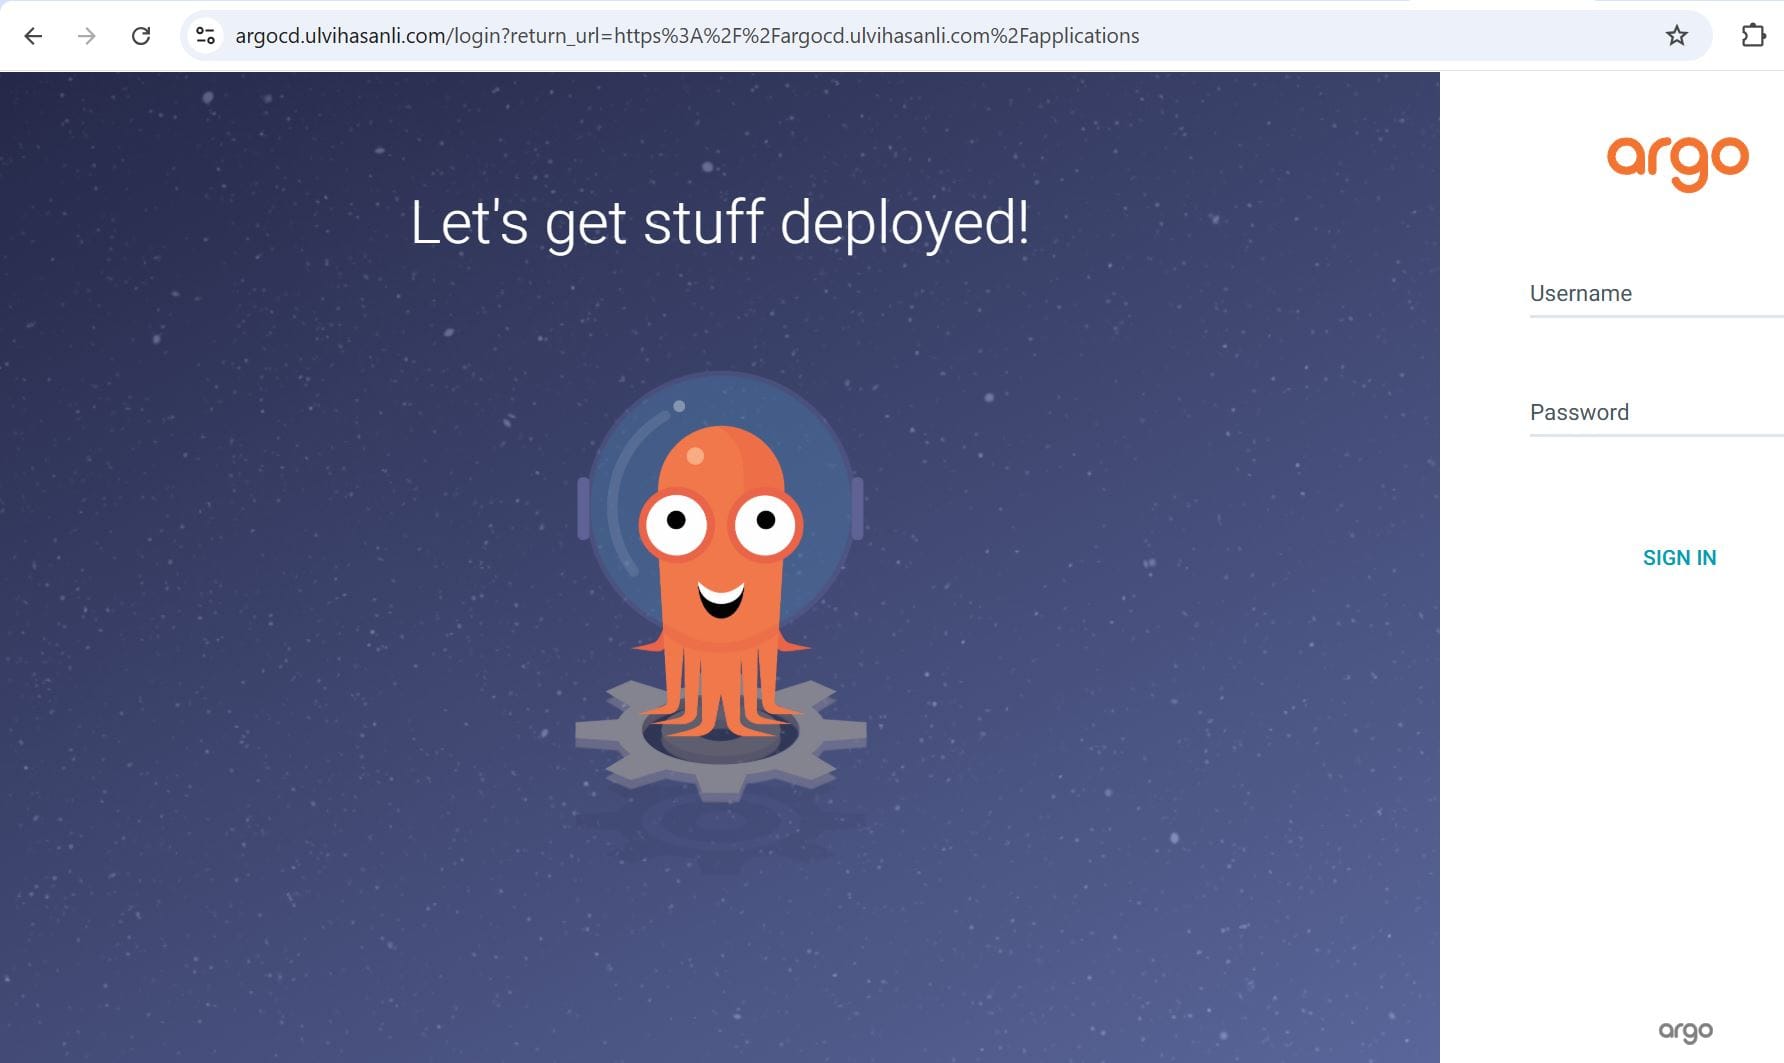
Now we can browse to argocd.site.com as below:
4.Get default admin password:
kubectl get secret argocd-initial-admin-secret -n argocd -o jsonpath="{.data.password}" | base64 -d
5.Login and change default admin password
6.Delete default password:
kubectl delete secret argocd-initial-admin-secret -n argocd
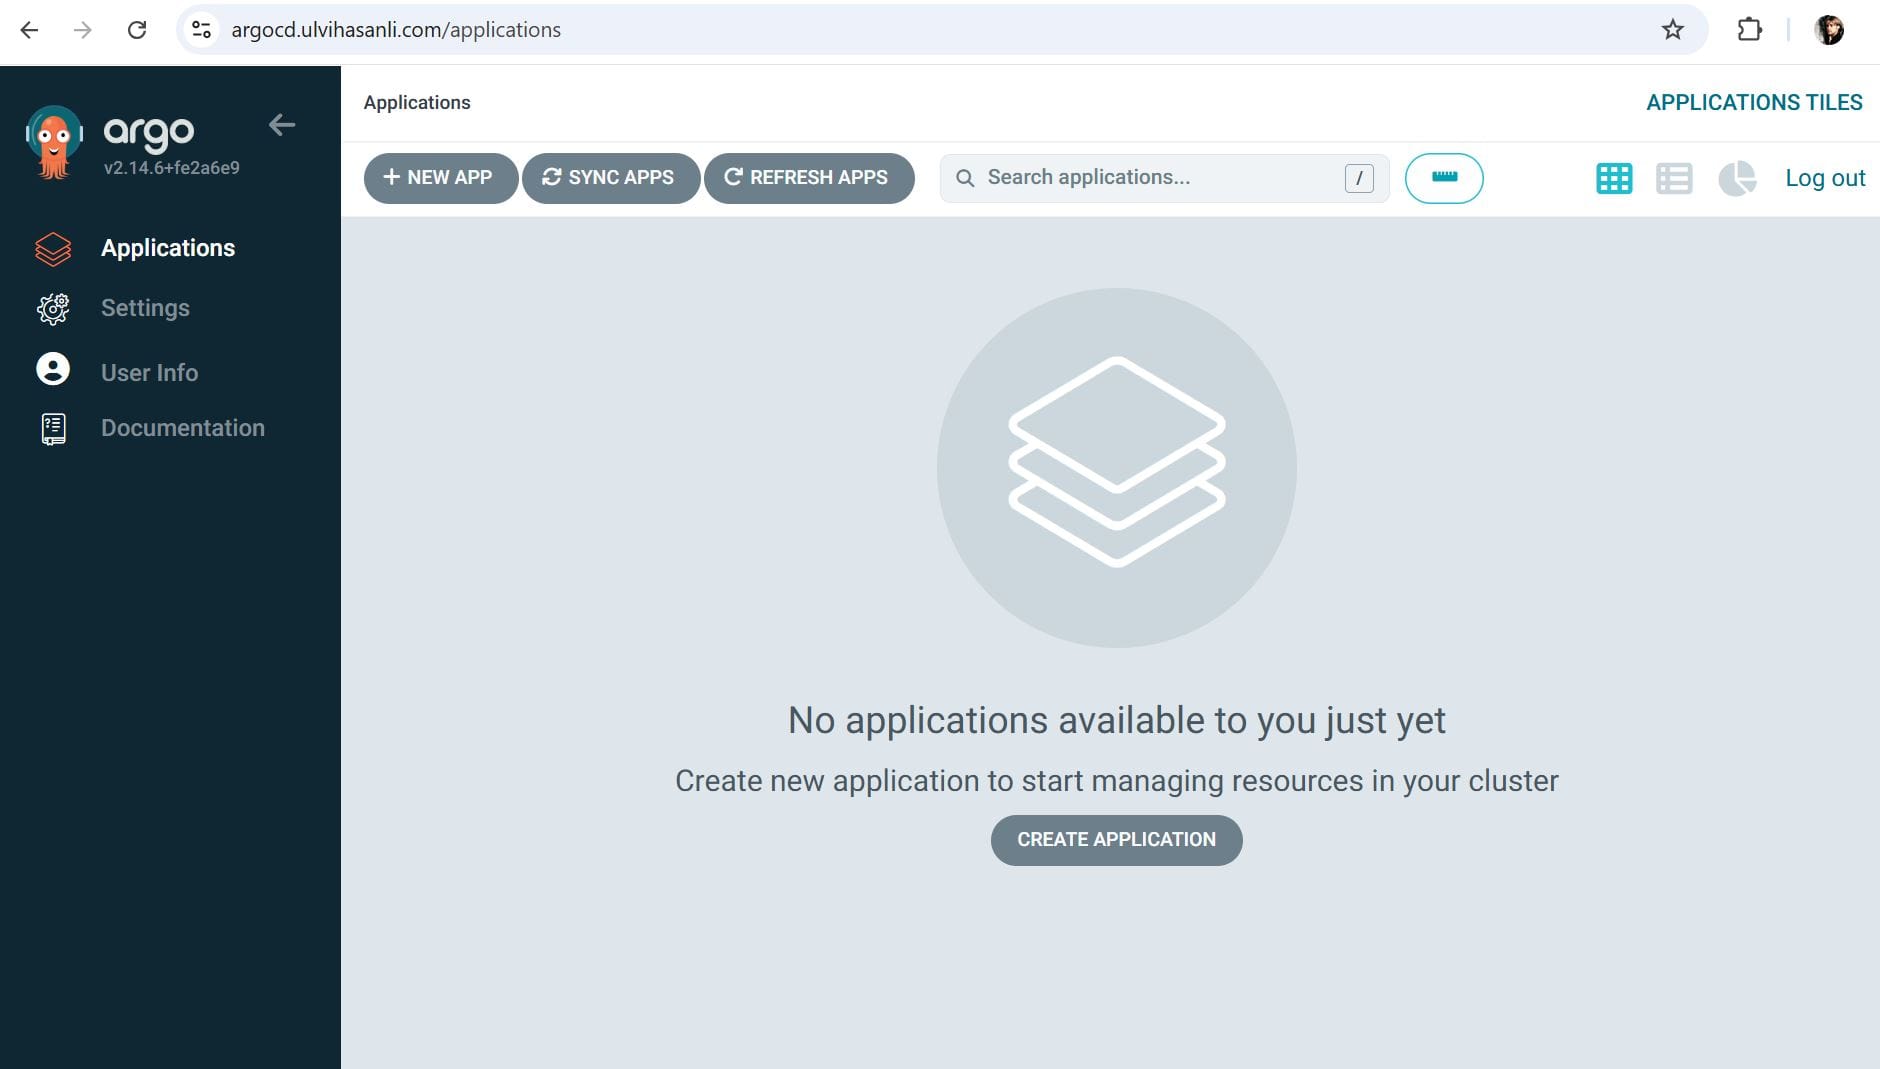
Below is our final screen with ArgoCD+Wildcard Cert
Get systemwide information:
kubectl get namespaces
kubectl get pods -A -o wide
kubectl get deployments -A -o wide
kubectl get services -A -o wide
kubectl get ingress -A -o wide